Create Your First Test
In this series of tutorials, you will learn how to use Apirios to ensure the quality of your APIs with automatic testing. Specifically, you will learn how to chain together different requests into one complex flow, validate responses, use variables, import API specifications, and use environments to simplify your job.
1. Create a new test
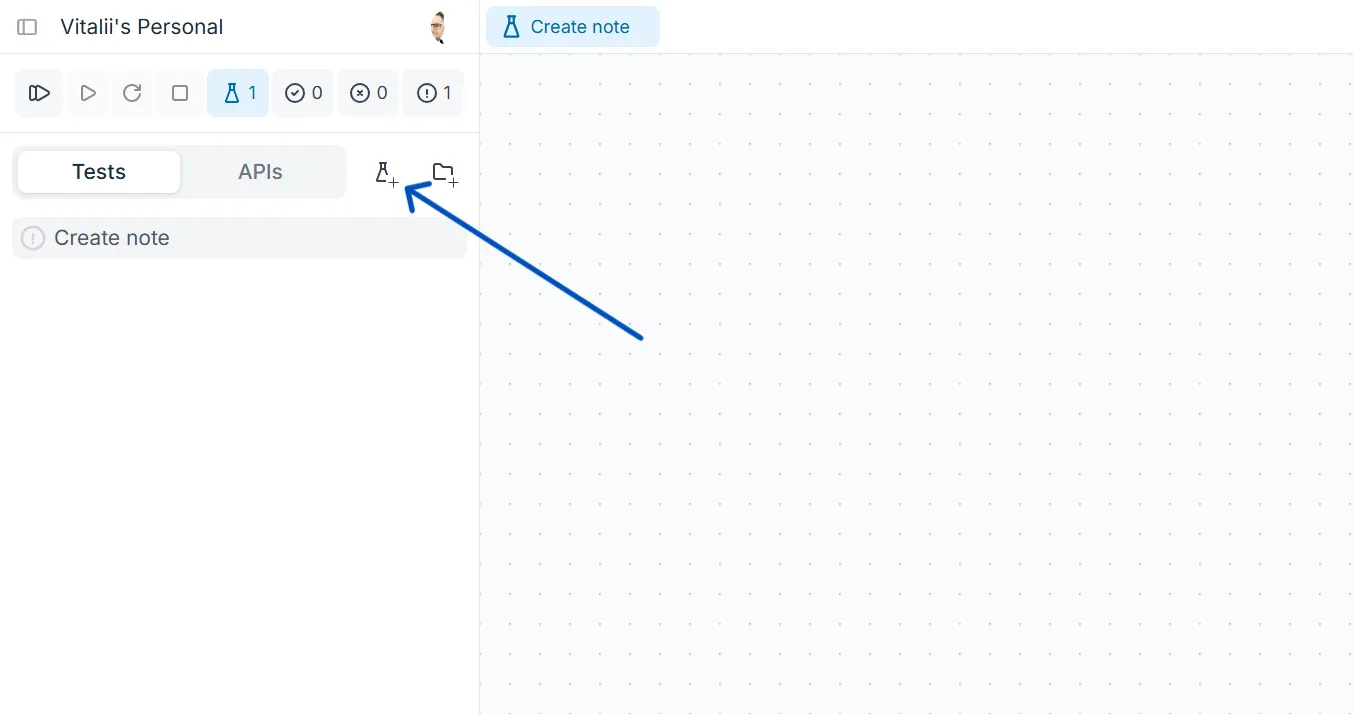
Create a new test and name it “Create a Note”. During this series of tutorials, we will iterate on this test to ensure that the basic user flow of a fictional note-taking application works as expected. Specifically, we will verify that a user can sign up, create a note, and see it in a list of all his notes.
2. Add an HTTP request to the test
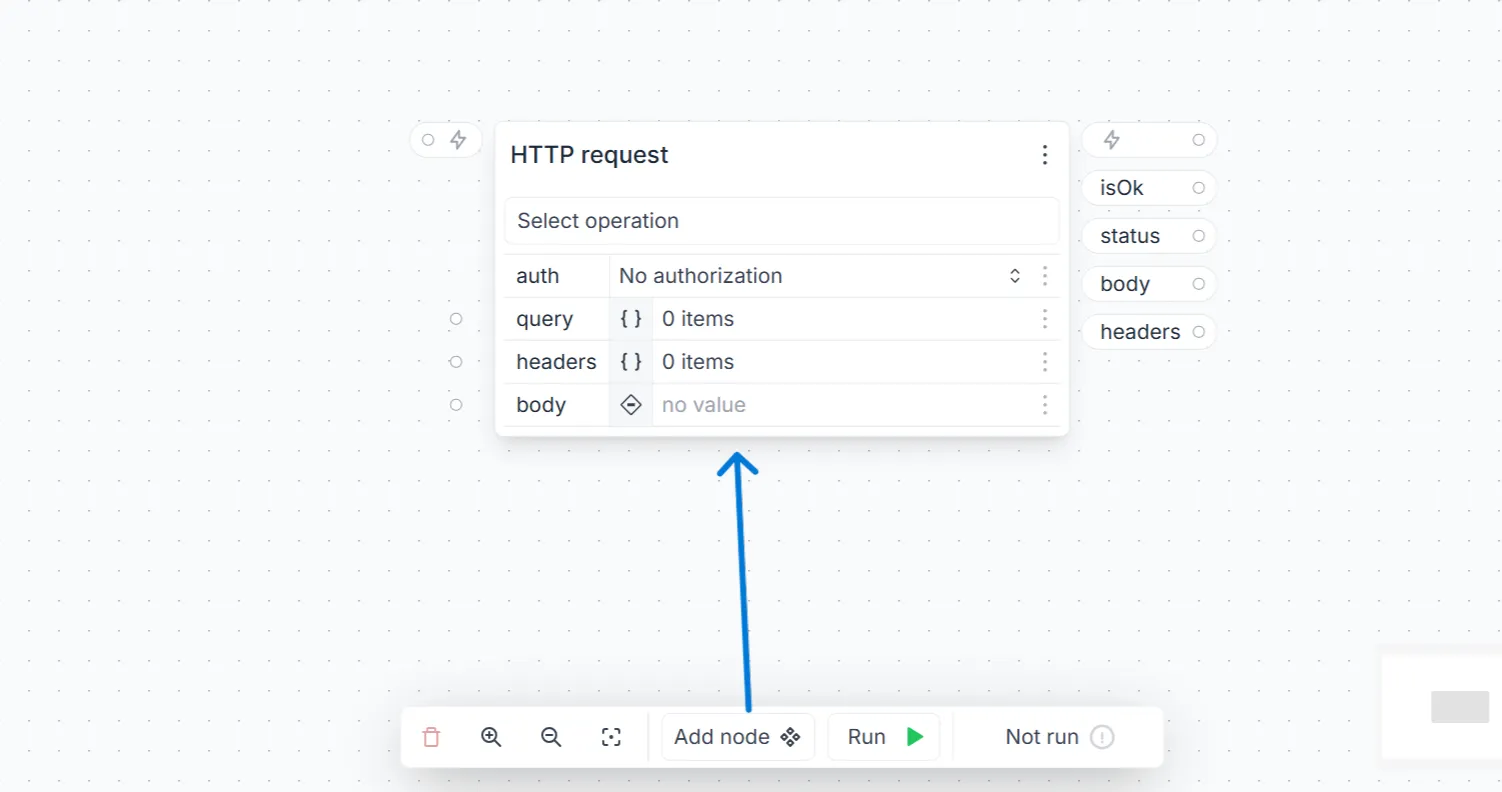
Add an HTTP request node by clicking the “Add node” button at the bottom of the flow editor or by right-clicking the flow editor to show the list of all available nodes.
3. Configure the HTTP request
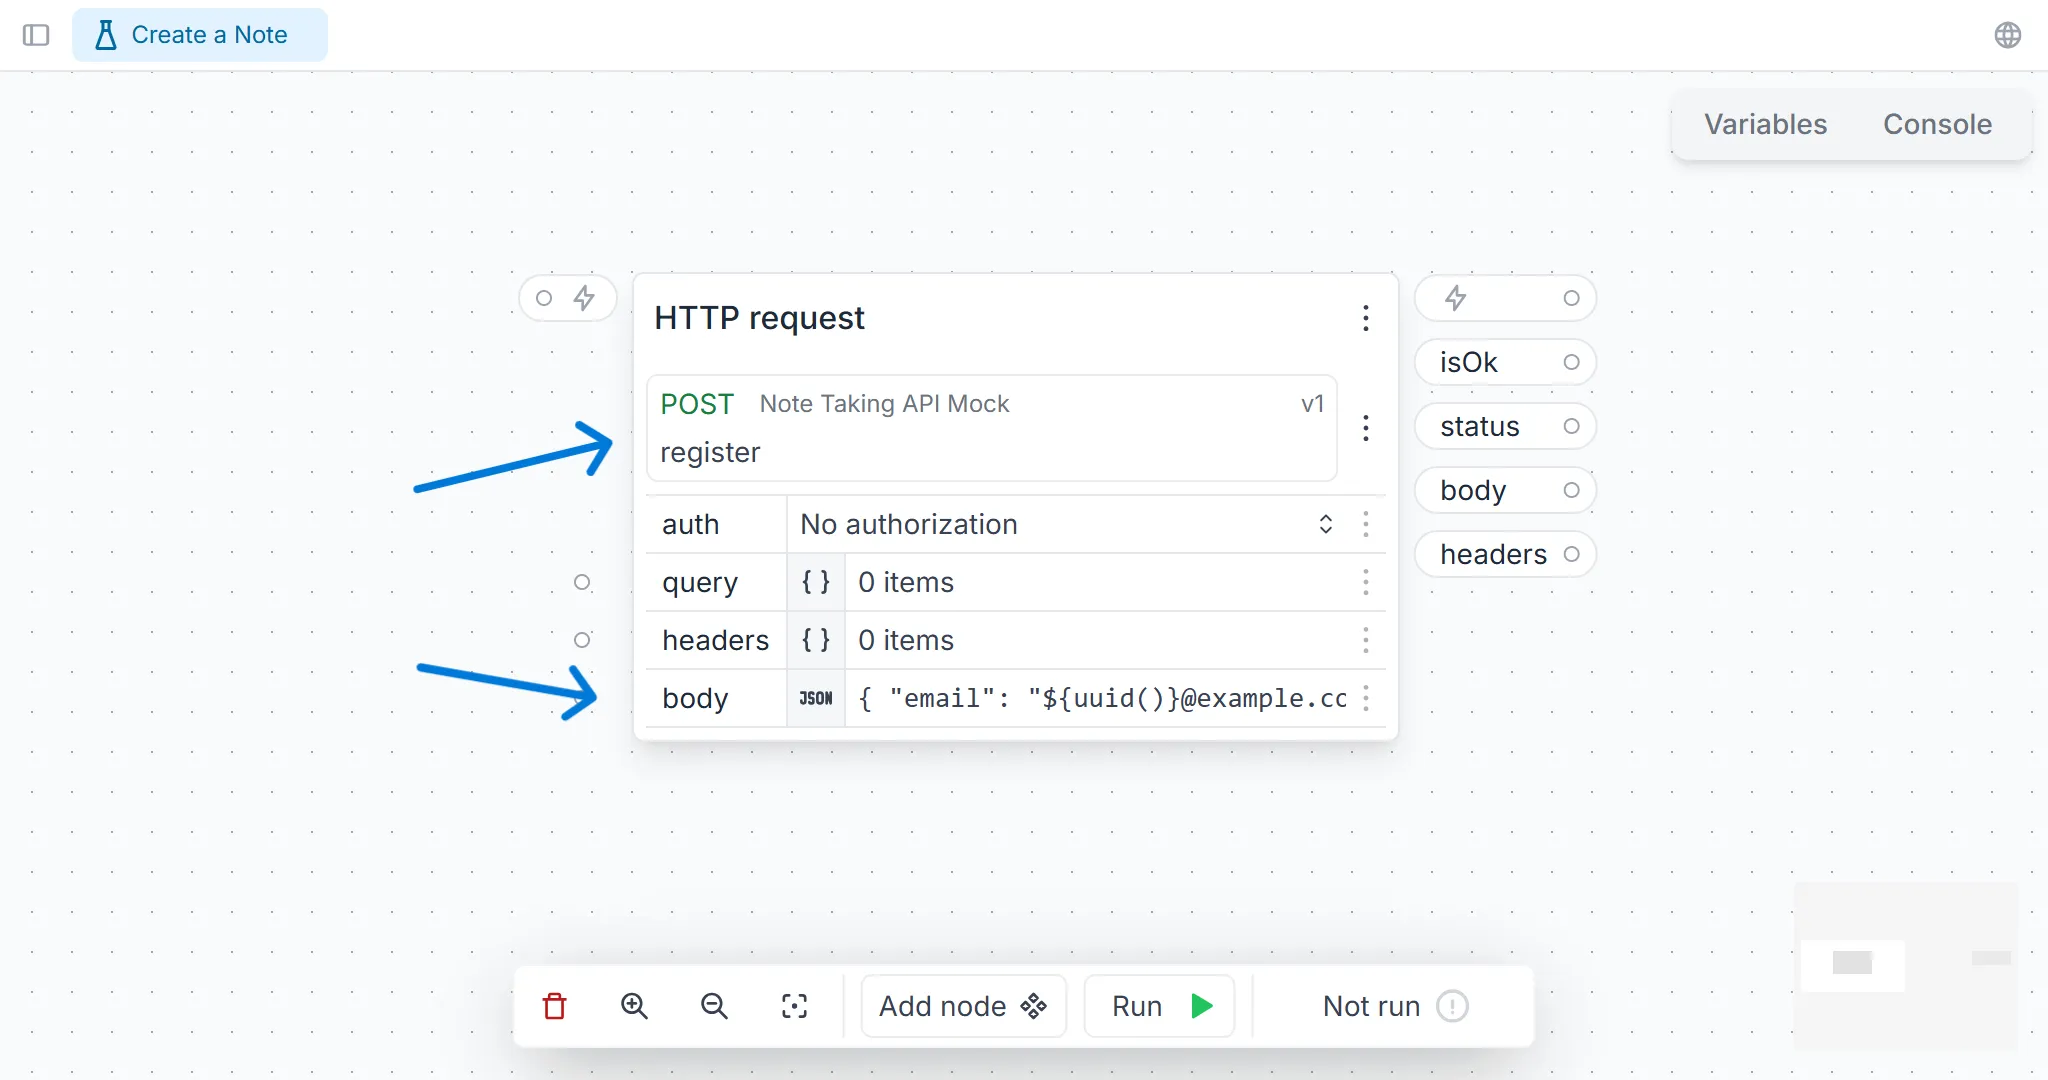
Select the register operation from Note-Taking API Mock. This operation requires an email and a password to be passed in the request body. We will generate email addresses dynamically using the uuid() function:
{ "email": "${uuid()}@example.com", "password": "1234"}4. Add validation
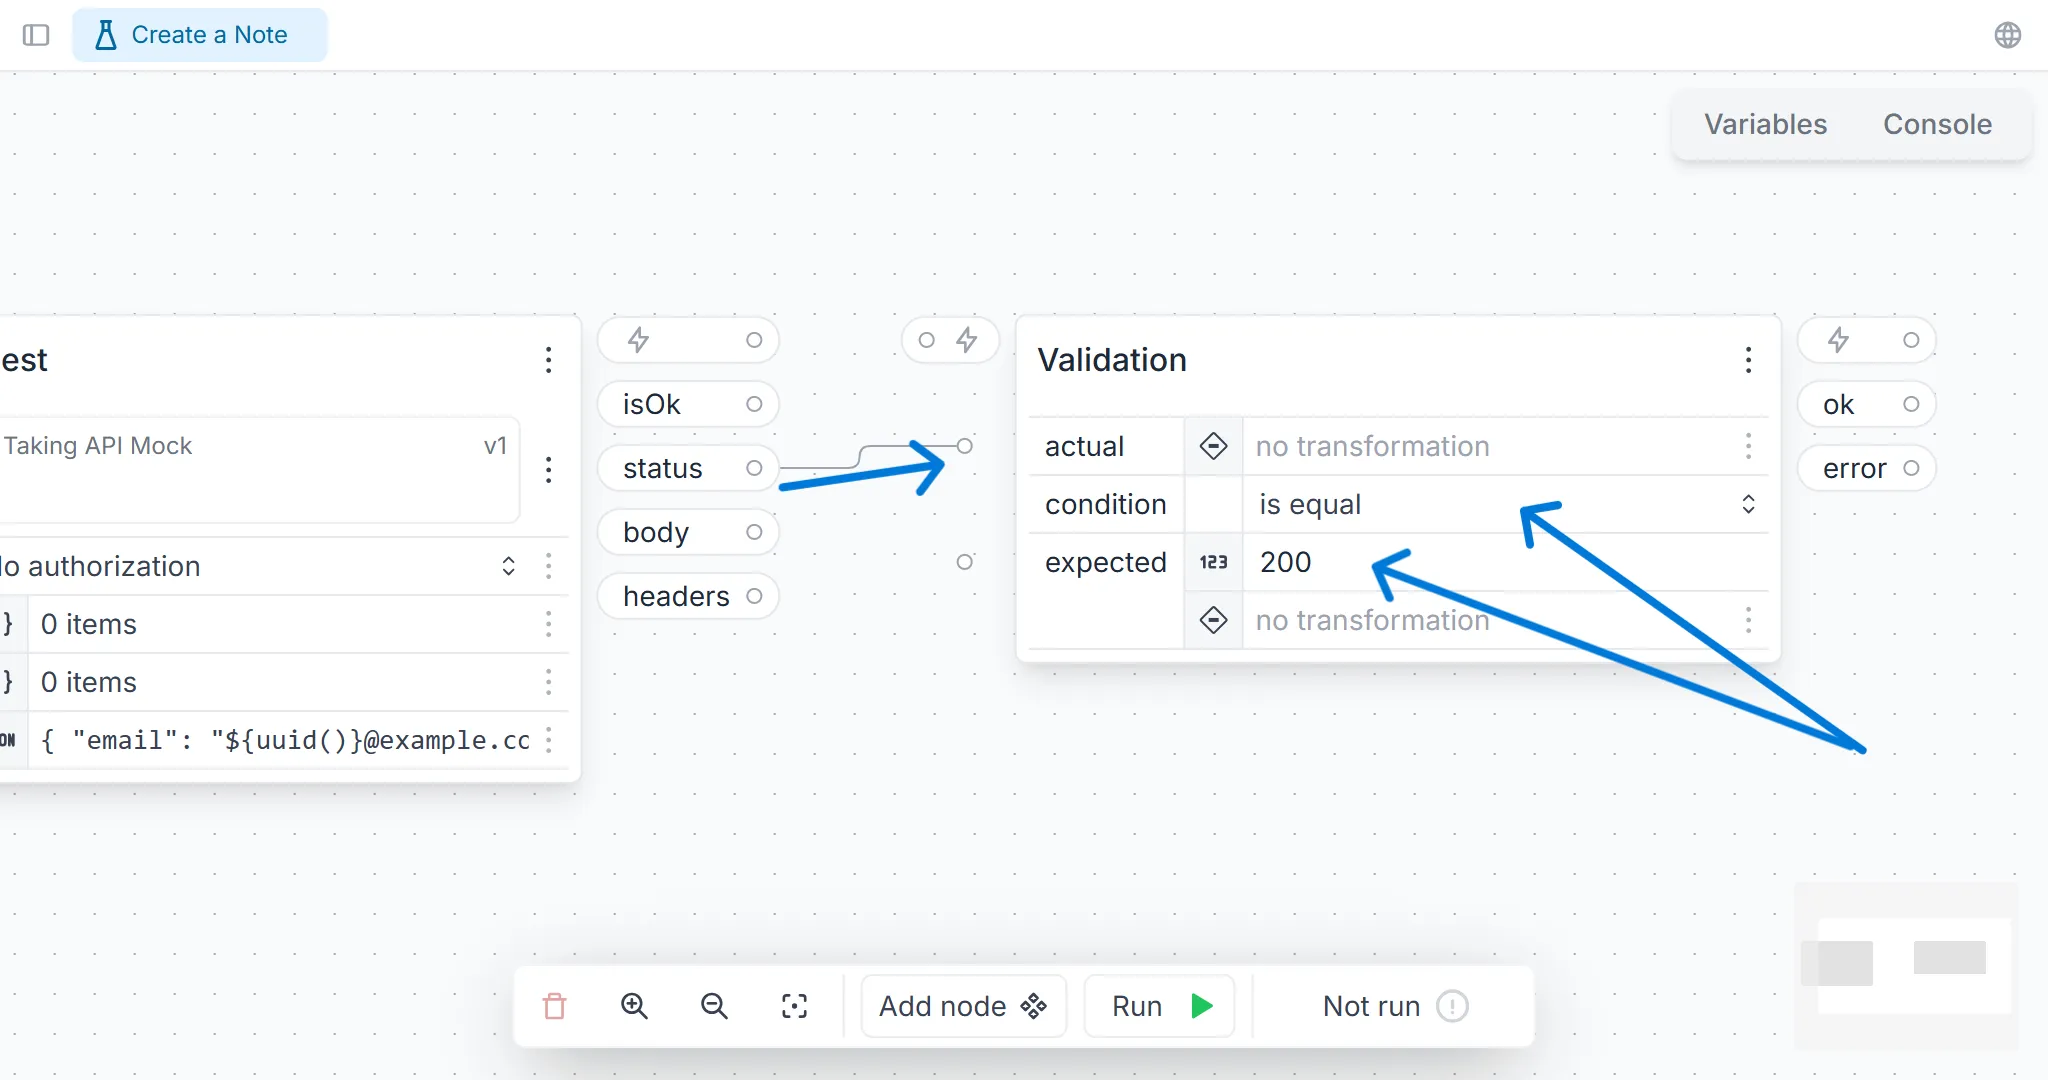
A successful login request should result in a 200 status code. Add a validation node to the flow and configure it to check the status code of the response:
- Connect the
statusoutput from the request to theactualinput in the validation node. - Select the
is equalcondition. - Set the
expectedinput to 200.
5. Run the test
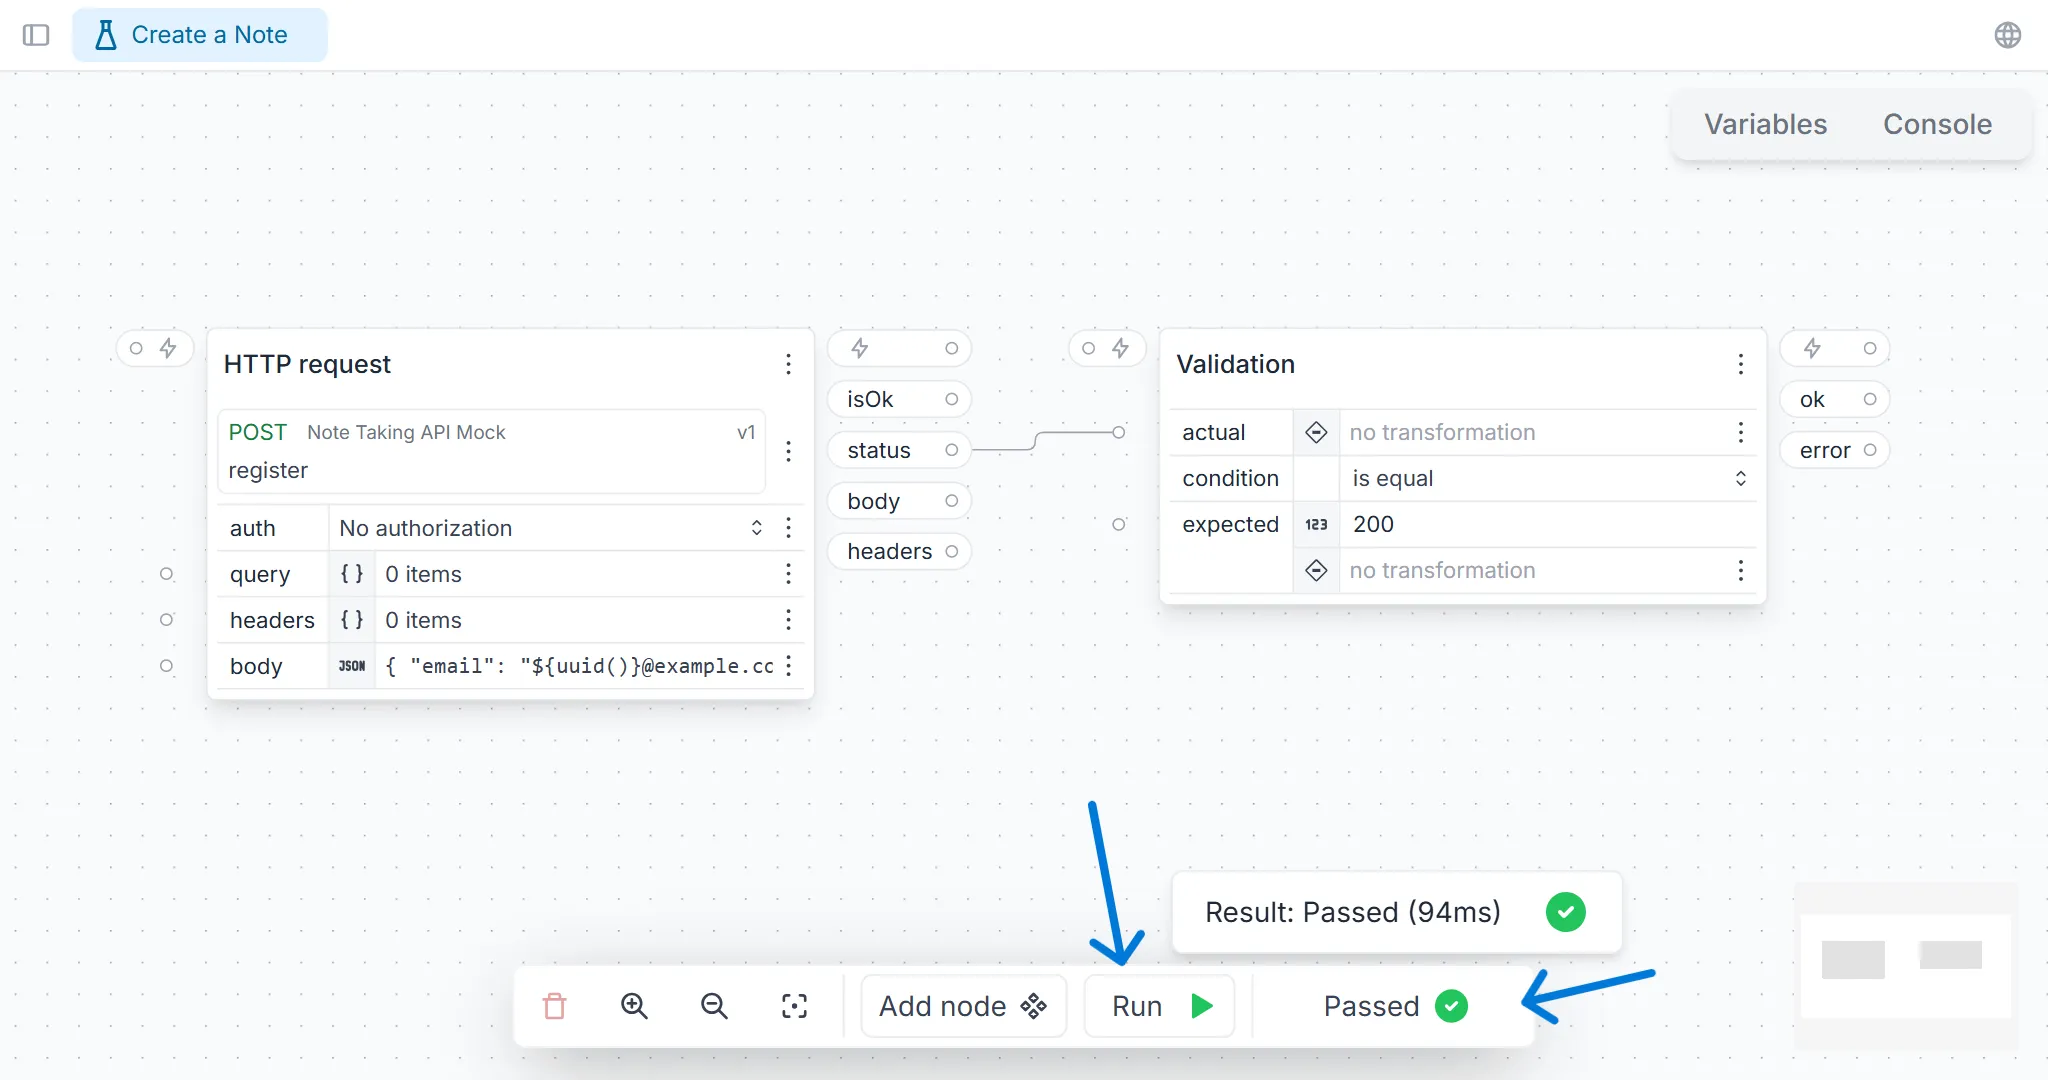
Run the test and watch it pass successfully. If it fails, check the error message or go to the guide on troubleshooting.